DIY Shelves That Stay Level: Strong, Sag-Free Build Guide
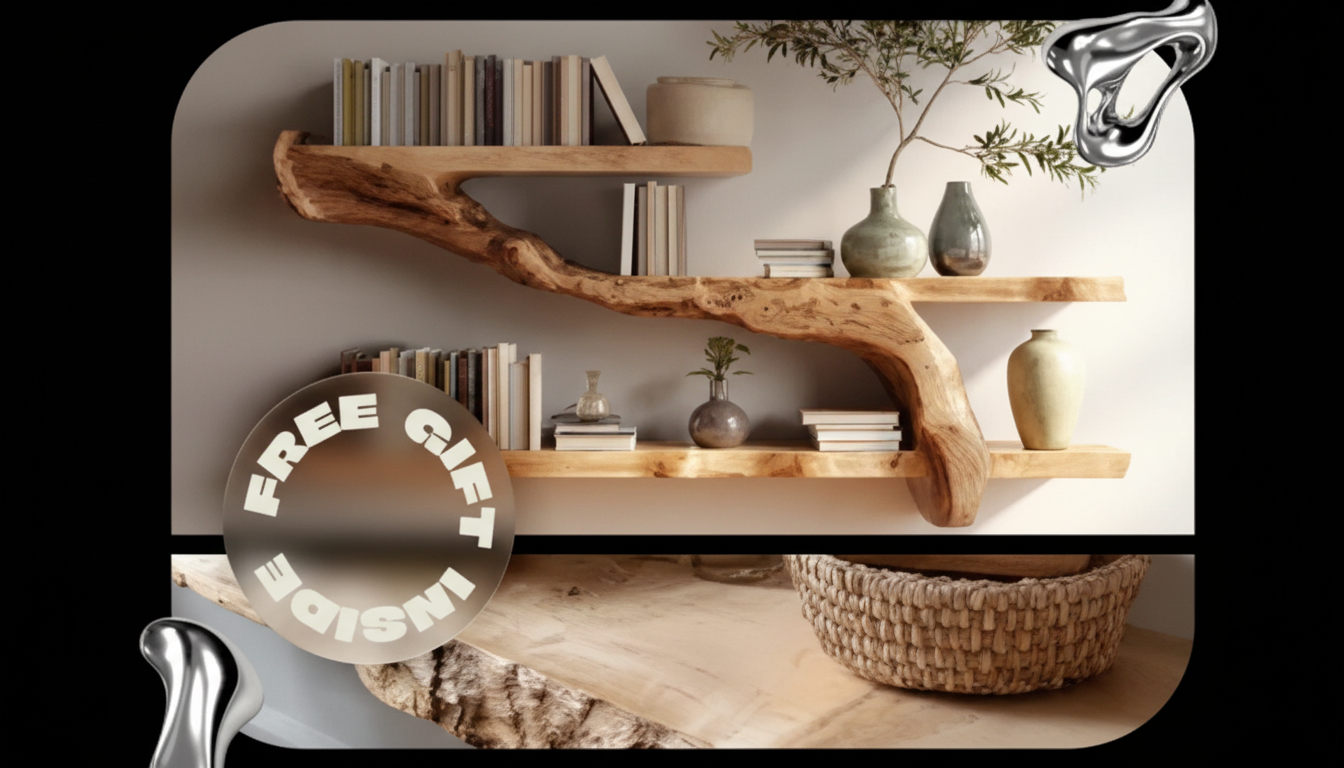
Build It Once, Build It Right: A Step-by-Step Guide to DIY Shelves That Stay Level and Strong
Sturdy shelves make a home feel calmer—books, baskets, pantry goods, and décor finally have a place. The difference between shelves that sag and shelves that last usually comes down to a few build-and-install basics: material choice, span support, accurate layout, and proper anchoring. Follow the steps below to plan, build, and mount shelves that look clean on day one and stay that way.
What Makes a Shelf “Right” the First Time
- Strength: Match shelf thickness and support spacing to the real load. A shelf that holds framed photos may fail under textbooks or canned food.
- Stability: Prevent wobble with solid anchoring, square assemblies, and consistent fastener spacing. A strong shelf still feels “cheap” if it racks.
- Accuracy: Level lines, repeatable measurements, and clean cuts reduce wall gaps and make installation predictable.
- Finish: Sanding and sealing help shelves resist humidity, scuffs, and stains—especially in kitchens, bathrooms, laundry rooms, and garages.
Plan Before Cutting: Location, Load, and Layout
Good shelving starts with decisions that are hard to fix later. Before buying material, confirm where the shelves go, what they’ll hold, and where supports can land.
- Pick the shelf style: Wall brackets for flexibility, a cleat-supported “floating look” for clean lines, built-in alcove shelves for tight spaces, or a freestanding unit if walls are questionable.
- Measure three times (left/center/right): Walls and corners are rarely square, and a “perfect” shelf can still show gaps if you only measure one point.
- Choose depth to match items: 8–10 in works for most books; 10–12 in fits many pantry staples; 12–16 in handles bins and bulky storage.
- Locate studs and obstacles: Mark studs, outlets, plumbing, and baseboards. When possible, plan bracket/cleat placement to hit studs for the most reliable hold.
- Set shelf spacing: Take your tallest item and add 1–2 inches so you can lift things out without scraping knuckles or labels.
Quick Planning Reference for Common Shelf Uses
| Use-case | Typical depth | Spacing between shelves | Support notes |
|---|---|---|---|
| Books (paperbacks/mixed) | 8–10 in | 10–12 in | Use thicker material or shorter spans; aim to catch studs with brackets/cleats |
| Pantry goods | 10–12 in | 12–15 in | Plan for heavier loads; add a center support on longer runs |
| Decor/light items | 8–12 in | 12–18 in | Lighter loads allow longer spans, but keep level for a clean look |
| Storage bins | 12–16 in | 14–20 in | Use sturdy brackets and consider edge banding or a front lip for stiffness |
Tools and Materials That Reduce Mistakes
- Measuring/layout: Tape measure, pencil, combination square, level (or laser level), stud finder.
- Cutting: Circular saw with a straightedge guide, miter saw, or table saw for repeatable cuts. A sharp blade reduces tear-out.
- Assembly: Drill/driver, countersink bit, clamps, wood glue, and screws suited to the material (wood screws for solid wood/plywood).
- Mounting: Wall anchors rated for your wall type and expected load when studs aren’t available, plus washers if needed to prevent pull-through.
- Material choices: Plywood for stability, solid wood for appearance, melamine for easy wipe-down. Avoid weak particleboard for heavy loads unless it’s properly reinforced.
When planning spans and loads, it helps to reference structural guidance (even for “simple” projects). The American Wood Council is a reliable starting point for understanding span concepts and load thinking.
Step-by-Step Build: Straight Cuts, Strong Joinery, Clean Finish
1) Mark and cut (with a system)
Label every part before you cut. For alcoves, cut slightly long and sneak up on the final length with careful trims so the shelf fits tight without forcing it into a bowed wall.
2) Dry-fit before glue or screws
Assemble pieces without glue to confirm dimensions and squareness. If you’re building a box-style shelf or a side-supported unit, check diagonal measurements; matching diagonals usually means the assembly is square.
3) Reinforce long spans
To fight sagging, either shorten the unsupported span (more brackets/cleats), use thicker material, or add stiffness. A hardwood front edge strip (a face frame lip) dramatically increases rigidity while also giving a more finished look.
4) Pre-drill and countersink
Pre-drilling reduces splitting (especially near ends) and lets screw heads sit flush. Flush hardware looks cleaner and helps items slide on and off without catching.
5) Sand in stages and finish for the room
Installation That Holds: Studs, Anchors, and Level Lines
If stud locations don’t cooperate, learn the safe alternatives and limitations before drilling. Family Handyman has practical guidance on locating studs and working around common wall obstacles.
Avoid These Common Shelf Problems
Ready-Made Plans for Confident Builds
- For step-by-step shelving layouts and a phone-friendly reference, see: Build It Once Build It Right | DIY Shelf Building Guide, Woodworking eBook, Step-by-Step Shelving Plans, Home Organization Digital Download.
- For bathrooms where durable, coordinated storage matters, consider pairing new shelving with: Creative 6-Piece Bathroom Accessories Set.
FAQ
How deep should a shelf be for books, pantry items, or storage bins?
Most book shelves work well at 8–10 inches deep, pantry shelves at 10–12 inches, and bin shelves at 12–16 inches. Measure your largest item and add a little clearance so items slide in and out easily.
How can shelf sagging be prevented on a long wall shelf?
Prevent sagging by shortening the unsupported span (add brackets or a center support), using thicker shelf material, and/or stiffening the shelf with a solid front edge strip. The heavier the load, the more support points you’ll want.
Is it safe to mount shelves without hitting studs?
It can be safe for light loads if you use the correct anchor for your wall type and stay within the anchor’s rated capacity. For heavy loads (books, pantry goods, tools), anchoring into studs is the safer choice.















Leave a comment