Rock Painting for Relaxation: Easy Beginner Ideas
Tiny Canvases, Big Joy: A Beginner-Friendly Guide to Painting Rocks for Creative Relaxation
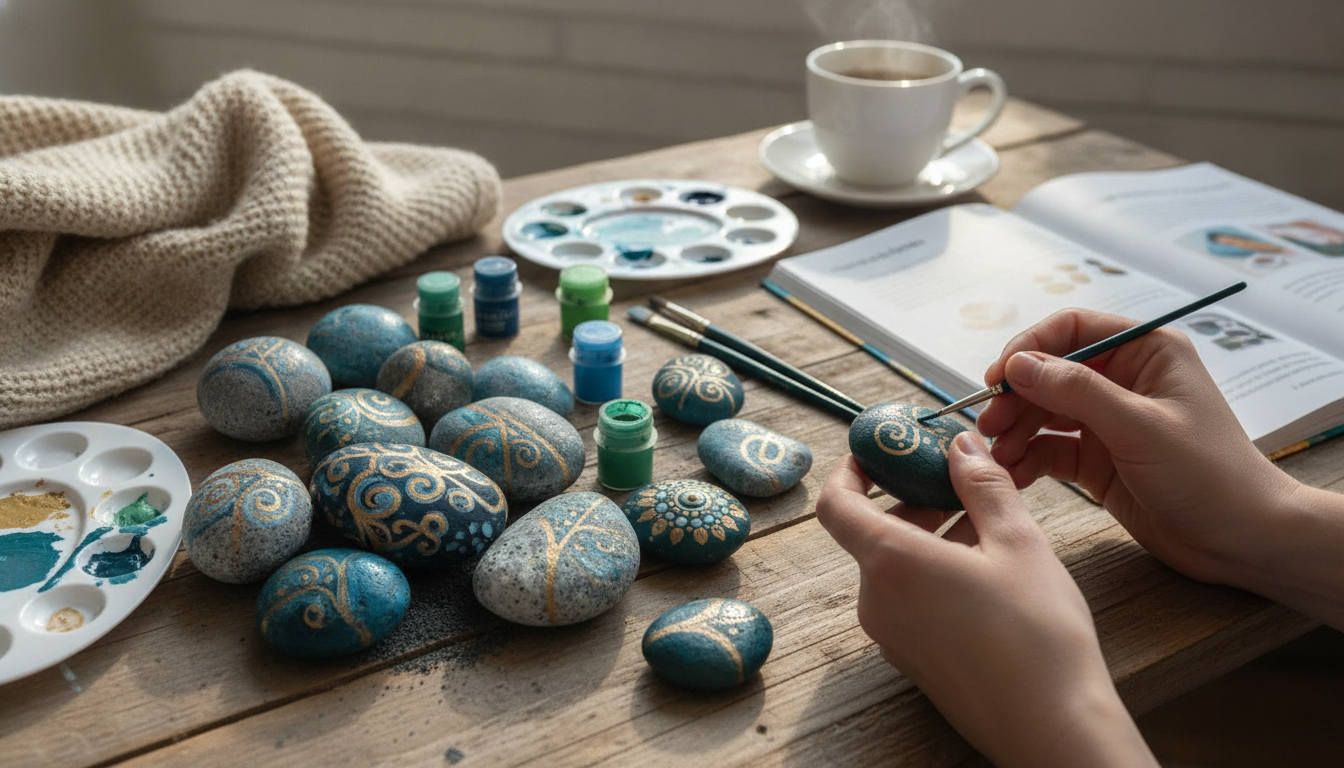
Painting rocks turns simple, everyday stones into miniature artworks—no studio, expensive materials, or prior experience required. A single palm-sized surface is enough to practice color, pattern, and playful ideas at a pace that feels calm instead of demanding. Below are easy supplies, soothing techniques, beginner designs, and simple ways to protect finished pieces so the hobby stays fun, portable, and low-pressure.
Why rock painting feels so relaxing
There’s something comforting about working small. A rock is a “tiny canvas” that encourages gentle experimentation, and it’s often easier to finish one piece in a short session.
- Small surface = low stakes: quick wins build confidence without long sessions or huge cleanups.
- Hands-on focus: repeating dots, steady brushstrokes, and simple shapes can quiet mental clutter and support a mindful pace.
- Portable setup: paint at a kitchen table, on a porch, or pack a mini kit for travel.
- Easy to share: gifting a painted rock—or joining a community rock-hiding tradition—adds a friendly social boost.
For more context on creative practices and stress support, see the American Psychological Association’s overview of art therapy and the National Center for Complementary and Integrative Health page on mindfulness.
Find and prep rocks the beginner-friendly way
Good prep makes painting smoother (literally) and helps color look cleaner with fewer coats.
- Choose the right stone: smooth, flat-ish rocks that fit comfortably in your palm work best. Avoid crumbly, flaky, or dusty rocks.
- Wash and dry: scrub with soap and water, rinse well, and let the rock dry completely so paint adheres.
- Optional sanding: lightly sand rough spots, then wipe away dust before painting.
- Prime for brighter color: a thin coat of white acrylic paint or gesso reduces patchiness and helps details pop.
- Protect your surface: paint over paper, cardboard, or a craft mat to prevent stains.
Starter supplies that keep it simple
You don’t need a huge craft drawer. A few reliable basics go a long way, and the best beginner setup is one you’ll actually pull out again.
- Paint: acrylic craft paint is beginner-friendly, fast-drying, and widely available.
- Brushes: one small round, one flat, and one detail brush cover most designs.
- Markers/pens: acrylic paint pens help with outlines, dots, and lettering—especially if brush control feels tricky at first.
- Palette + water: use a paper plate or reusable palette, plus a cup of water and paper towels.
- Sealant: a clear sealer protects the finish, especially for handled rocks or outdoor placement.
- Extras: cotton swabs and toothpicks are perfect for dots, tiny highlights, and cleaning edges.
Beginner rock-painting kit checklist
| Item | Beginner pick | Why it helps | Optional upgrade |
|---|---|---|---|
| Rocks | Smooth river stones | Easier lines and cleaner color fills | Flat landscaping stones for larger designs |
| Paint | Acrylic craft paint | Good coverage and quick dry time | Heavy-body acrylics for richer opacity |
| Brushes | 1 flat + 1 round + 1 detail | Covers base coats through fine lines | Detail brush set for lettering |
| Marking tools | Acrylic paint pen | Crisp dots/outlines with less brush control needed | Metallic pens for accents |
| Primer | White acrylic or gesso | Brighter colors with fewer coats | Spray primer (well-ventilated) |
| Sealant | Clear acrylic sealer | Protects art from scuffs and moisture | UV-resistant outdoor sealer |
Beginner techniques that look polished fast
These small habits make painted rocks look cleaner without adding pressure.
- Base coat first: apply 1–2 thin layers rather than one thick layer to reduce streaks.
- Dry between layers: rushing causes smearing and muddy color mixing.
- Dotting made easy: use the back of a brush handle, toothpick, or dotting tool for mandalas and patterns.
- Simple gradients: blend two colors while they’re still slightly wet using a clean, damp brush.
- Crisp edges: outline shapes after paint dries with a fine-tip paint pen.
- Fix mistakes calmly: let the area dry, repaint a small patch of base color, then redraw details.
Easy design ideas for calm, creative sessions
When the goal is relaxation, designs that repeat and flow tend to feel the best. Pick one idea and keep it simple—one finished rock is a win.
- Mini mandalas: start with a center dot, then build rings of dots in repeating colors.
- Botanical basics: leaves, simple vines, daisies, and cactus silhouettes look great with minimal detail.
- Night sky rocks: paint a dark base, add white star dots, then a simple crescent moon.
- Positive words: choose one short word in block letters, then outline for clarity.
- Animals in simple shapes: ladybugs, bees, turtles, and fish come together easily using circles and ovals.
- Seasonal sets: paint four rocks as a theme—spring flowers, summer suns, autumn leaves, winter snowflakes.
Seal, display, or share without stress
Protection and presentation can be easy—think light layers and simple routines.
A gentle routine for creative relaxation
Helpful picks to keep the hobby easy
- Tiny Canvases Big Joy – A Beginner-Friendly Guide to Painting Rocks Hobby Ideas for Creative Relaxation
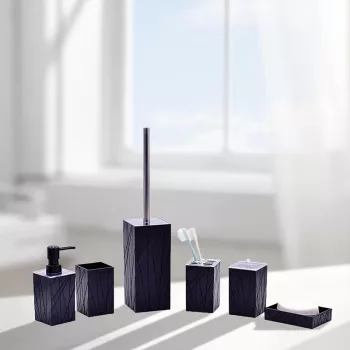
- Creative 6-Piece Bathroom Accessories Set (use pieces as a simple home organizer for brushes, paint pens, and small tools)
FAQ
What paint works best for painting rocks?
Acrylic craft paint is a great beginner choice because it’s easy to find, dries quickly, and layers well. For smoother coverage, prime with white first and build color with thin coats; paint pens are helpful for crisp outlines and tiny details.
How do you seal painted rocks so they last outdoors?
Let the paint cure fully, then apply multiple thin coats of a weather-resistant clear sealer (UV-resistant is even better). Test your sealer on one rock first to confirm it dries clear and doesn’t feel tacky.
Do rocks need to be primed before painting?
Priming isn’t required, but it makes bright colors look more even and reduces how many coats you need. A thin layer of white acrylic paint or gesso is usually enough for a clean, beginner-friendly base.













Leave a comment